Introduction
A 120 inch projector screen can transform your home theater experience. But understanding the dimensions and how it fits in your space is essential to make the most out of your investment. Whether you’re a first-time buyer or looking to upgrade, knowing the specific dimensions and other related factors can help you make an informed decision.
Understanding 120 Inch Projector Screen Dimensions
When you talk about the dimensions of a projector screen, you’re looking at more than just the diagonal measurement. The width, height, and aspect ratio play significant roles in your viewing experience.
A 120 inch projector screen commonly has a 16:9 aspect ratio, which is standard for most modern screens. This means the screen is 105 inches wide and 59 inches tall. However, if your projector screen has a different aspect ratio, such as 4:3, the dimensions will be slightly altered, measuring approximately 96 inches wide and 72 inches tall.
Aspect ratios determine the shape of the image. A 16:9 aspect ratio provides a widescreen viewing experience, perfect for HD content. On the other hand, a 4:3 ratio is more square and often used for older media formats.
Knowing these dimensions helps you determine the ideal location and necessary space for installation. Keep in mind the space around the screen for speakers, ventilation, and any other equipment. This understanding will guide you in choosing the right screen type and setup for your needs.
Different Types of 120 Inch Projector Screens
Projector screens come in various types, and each has particular benefits and use cases. Here is a breakdown of some of the most common types:
-
Fixed Frame Screens: These are permanently tensioned screens mounted on a frame. They provide a smooth, wrinkle-free surface and are ideal for dedicated home theater setups.
-
Motorized Screens: Controlled by a remote, these screens can be retracted into a housing when not in use. They are perfect for multi-purpose rooms where the screen needs to be hidden away.
-
Manual Pull-Down Screens: Similar to motorized screens but operated manually, these are more cost-effective and are suitable for casual viewing.
-
Portable Screens: These screens are easy to set up and transport, making them great for outdoor movies or business presentations.
-
Painted Screens: For those on a tight budget, special projector screen paint can be applied to a wall to create a screen. While not as high-quality as other options, it provides a decent viewing experience.
Choosing the right type depends on your viewing habits, budget, and the aesthetic of your space.
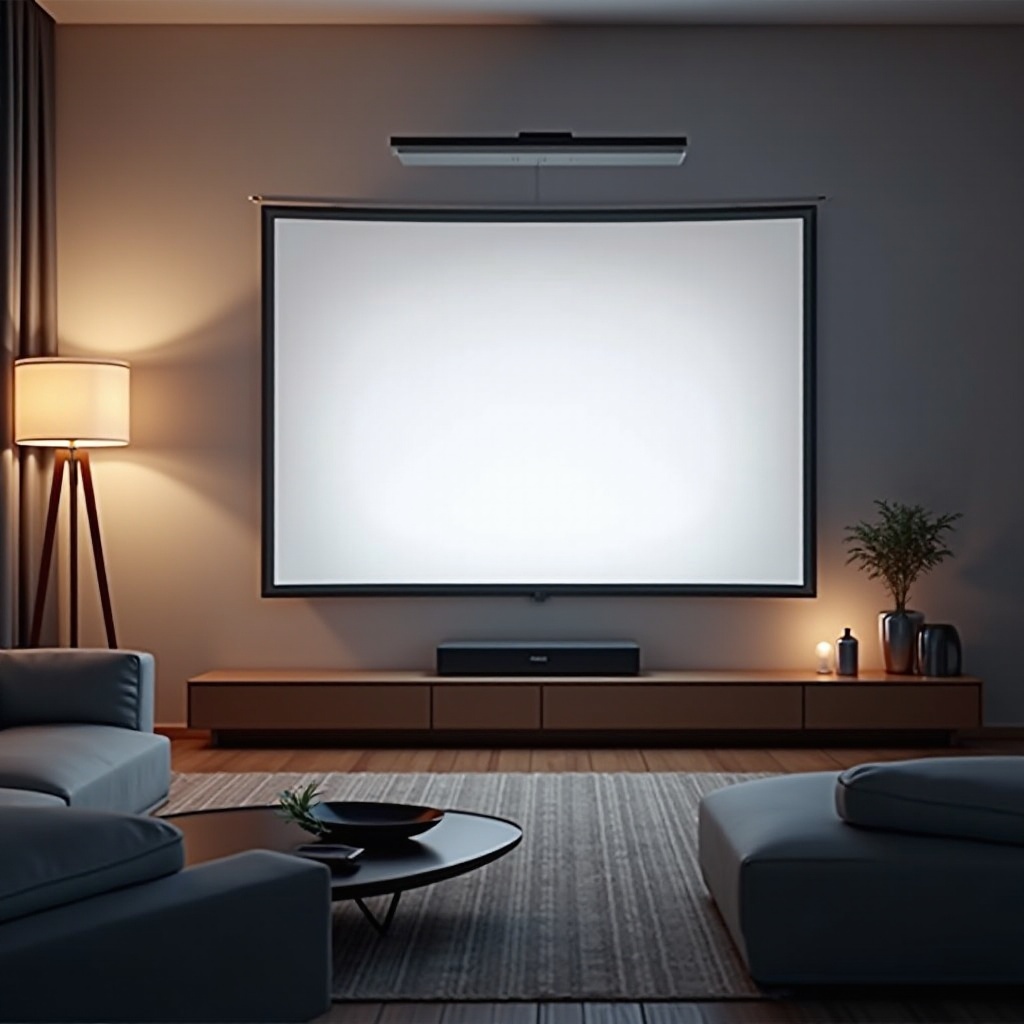
Choosing the Right Screen for Your Space
Picking the right screen for your space is crucial for an optimal viewing experience. Here are some factors to consider:
-
Room Size: Ensure your room can accommodate a 120 inch screen. Measure the space and leave some clearance around the edges.
-
Viewing Distance: The ideal viewing distance from the screen is typically 1.5 to 2.5 times the screen width. For a 120 inch screen, this translates to a distance of around 13 to 21 feet.
-
Ambient Light: Consider the room’s lighting conditions. A room with high ambient light might need a screen with better light-rejecting properties.
-
Mounting Options: Decide where and how you’ll mount your screen. Ceiling mounts and wall mounts have different requirements.
Keeping these factors in mind ensures that the screen you choose will integrate well with your room and provide the best viewing experience.
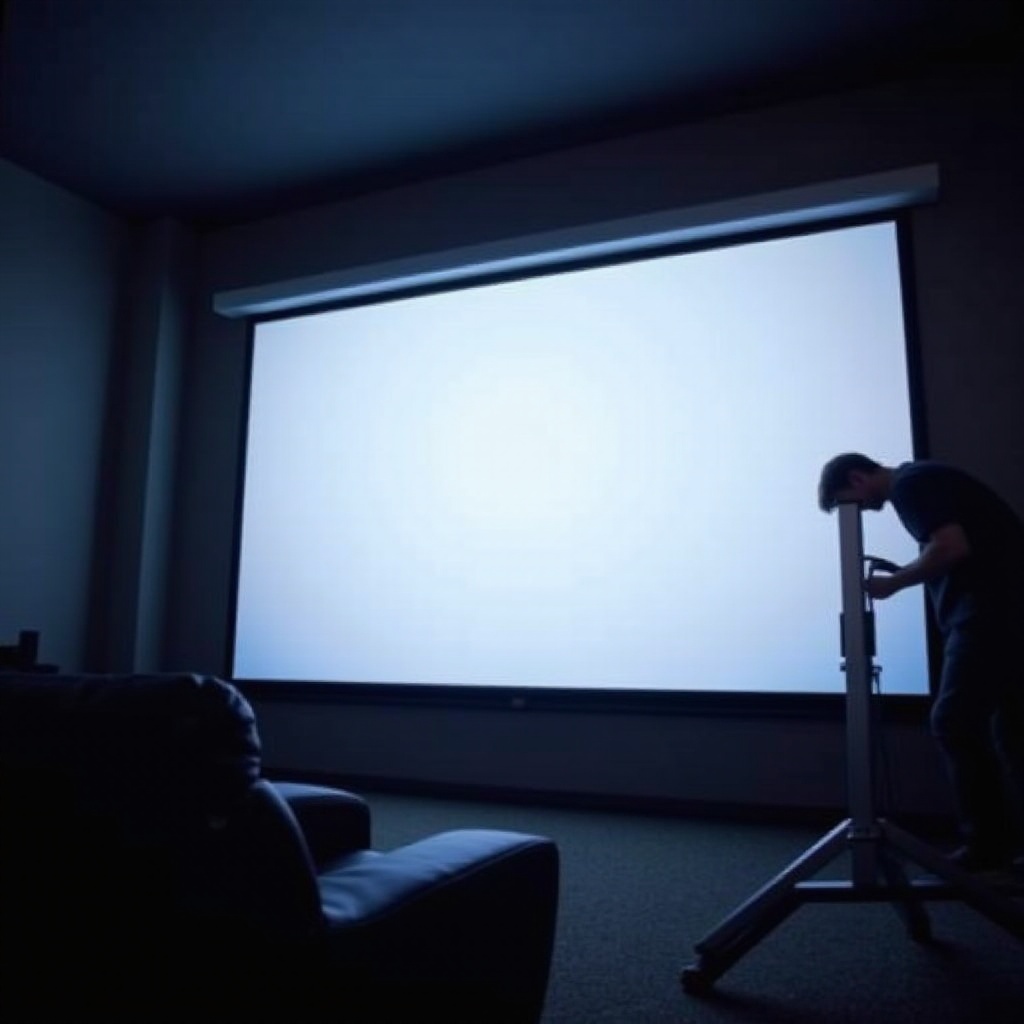
Installation Tips for a 120 Inch Projector Screen
Installing a 120 inch projector screen can be a straightforward process if done correctly. Here are the steps:
-
Positioning: Determine the ideal height and space for the screen, considering the viewing angle and distance.
-
Mounting: If wall or ceiling mounting, ensure the mounting brackets are securely fixed, preferably into wall studs. Use a level to ensure the screen is straight.
-
Calibration: Once the screen is installed, adjust your projector to align with the screen. Calibrate the image for sharpness and alignment.
-
Testing: Test the setup by playing a video or image to check for any distortions or alignment issues.
Proper installation is vital to enjoying the best image quality and ensuring the setup’s longevity.
Maintenance and Care
To prolong the lifespan and maintain the quality of your projector screen, regular care is necessary:
-
Cleaning: Dust the screen regularly with a microfiber cloth. For more substantial dirt, use a damp cloth with water or a mild detergent.
-
Storage: If using a portable or manual pull-down screen, retract it when not in use to prevent damage.
-
Environment: Keep the environment clean and free from excessive moisture, as this can damage the screen material.
By following these maintenance tips, your screen can remain in excellent condition for years.
Conclusion
Understanding the dimensions and various considerations of a 120 inch projector screen can significantly enhance your viewing experience. Whether it’s the screen type, viewing distance, installation, or maintenance, each aspect plays a crucial role in delivering that perfect cinematic experience at home.
Frequently Asked Questions
What is the ideal viewing distance for a 120 inch projector screen?
The ideal viewing distance for a 120 inch screen is approximately 13 to 21 feet.
Can I install a 120 inch projector screen in a small room?
It depends on the room’s dimensions. Ensure there’s enough space for the screen, viewer seating, and additional equipment.
What is the best aspect ratio for a 120 inch projector screen?
A 16:9 aspect ratio is generally recommended for a 120 inch projector screen as it matches most HD content dimensions.