Introduction
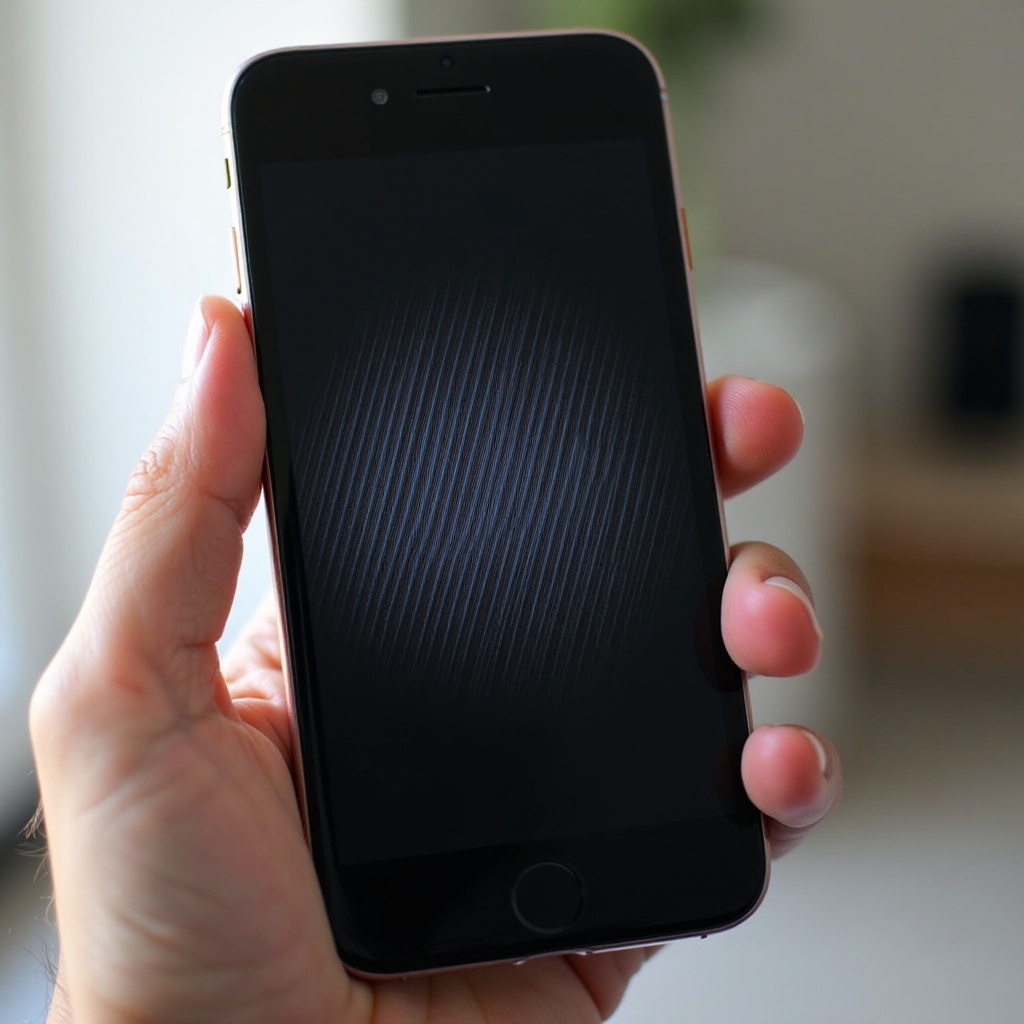
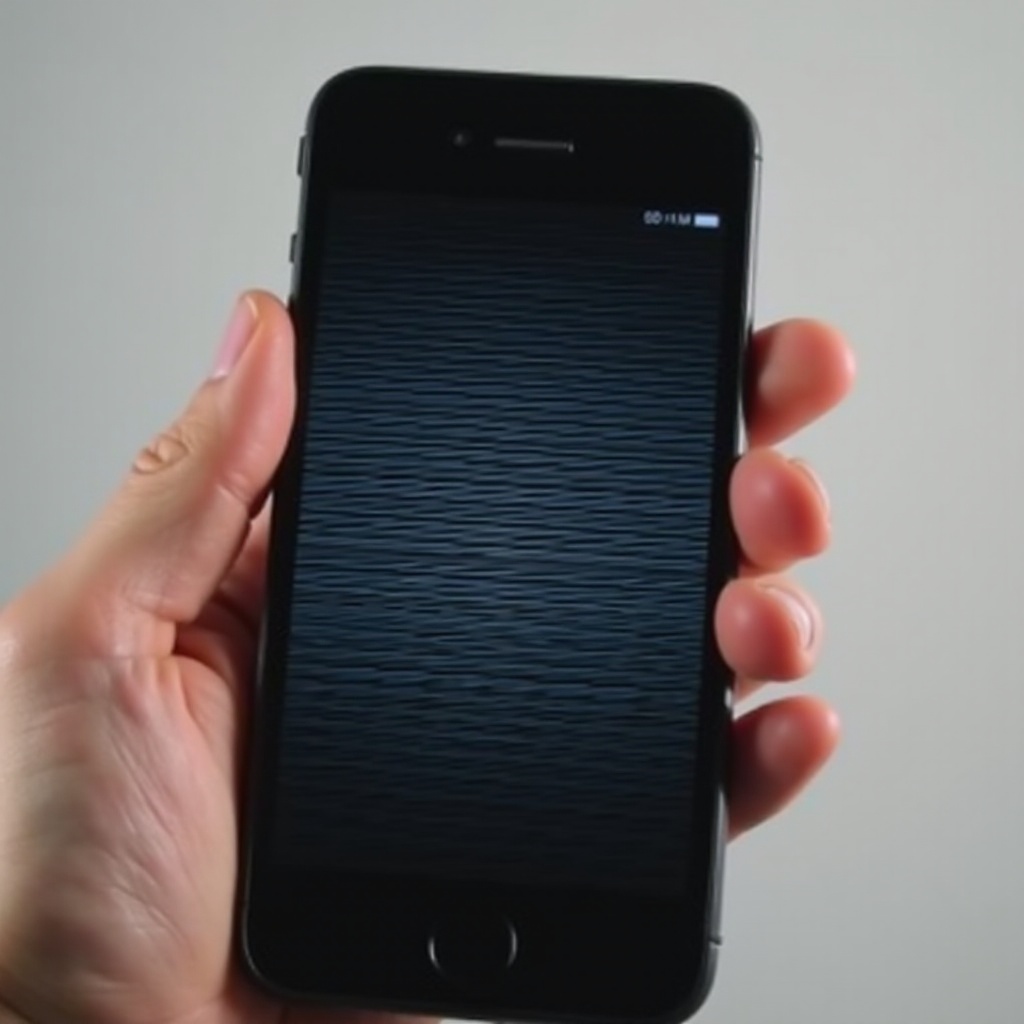
Dealing with lines on your iPhone screen can be both worrisome and frustrating. These screen anomalies can arise due to a variety of hardware malfunctions or software glitches. Addressing these issues promptly is crucial to prevent further damage. This detailed guide provides you with practical steps to troubleshoot and fix those pesky lines, whether they’re vertical, horizontal, or colored.
Understanding the Problem
Identifying the root cause of screen lines helps in determining the right solution. Generally, these issues result from:
- Hardware problems like physical damage from drops or impacts.
- Software glitches, such as bugs in the iOS operating system.
Lines may be vertical, horizontal, or come in various colors. Recognizing the type can give clues about the cause.
Preliminary Checks Before You Begin
Before diving into complex solutions, conduct these basic checks to rule out easy fixes:
- Restart your iPhone. Sometimes a simple reboot resolves temporary glitches.
- Check for any software updates by navigating to Settings > General > Software Update to ensure your device is running the latest iOS version.
- Back up your important data using iCloud or iTunes to prevent loss during troubleshooting.
If these checks do not solve the issue, proceed with more detailed troubleshooting steps.
Software Troubleshooting Steps
When lines persist after preliminary checks, focus on software troubleshooting:
- Force Restart Your iPhone:
- For iPhone 8 or later: Quickly press and release the Volume Up button, then the Volume Down button. Press and hold the Side button until the Apple logo appears.
-
For iPhone 7: Press and hold both the Volume Down and the Sleep/Wake buttons until the Apple logo appears.
-
Reset All Settings:
-
Go to Settings > General > Reset > Reset All Settings. This action won’t erase your data but will reset your Wi-Fi passwords and preferences.
-
Use Recovery Mode or DFU Mode:
- Recovery Mode: Connect your iPhone to a computer, open iTunes or Finder, and initiate Recovery Mode. Follow the prompts to restore your device.
- DFU Mode: Deeper software issues may require DFU Mode. Refer to Apple Support for detailed guidance.
If software solutions are ineffective, hardware issues might be the culprit, requiring further inspection.
Hardware Troubleshooting and Solutions
Persistent line problems may originate from hardware defects:
- Inspect for Physical Damage: Examine your device for visible damage or cracks on the screen.
- Check Screen Connections: Loose screen connections might cause lines. Carefully disassemble your iPhone to assess and reseat connectors if you’re comfortable with this level of DIY.
- Professional Repair: If your iPhone is under warranty or protected by AppleCare, seek professional repair services to avoid further complications.
Once you have eliminated or resolved hardware concerns, consider the DIY repair route, if suitable.
DIY Repair Options
If you feel comfortable handling electronics, a DIY repair could save costs:
- Gather Tools Needed: Acquire a precision toolkit, suction handle, and the required replacement screen.
- Step-by-Step Screen Replacement:
- Power off your iPhone and remove screws near the charging port.
- Use a suction handle to gently lift the screen.
- Disconnect battery and screen connections before replacing the screen.
- Safety Tips: Work slowly and carefully. Use an anti-static wrist strap to protect against static electricity.
Completing your own repair can be rewarding, provided you exercise caution and follow instructions meticulously.

Prevention Tips to Avoid Future Screen Issues
Protecting your iPhone screen is vital to prevent recurring issues. Consider these preventive steps:
- Invest in Quality Screen Protectors and Cases: These accessories offer crucial protection against drops and impacts.
- Handle with Care: Minimize the risk of dropping your phone by securing it in safe locations.
- Regular Software Updates: Keeping your iOS software updated helps in preventing glitches that might cause display problems.
Preventive care significantly extends your device’s life and performance.
Conclusion
Addressing iPhone screen lines requires understanding the causes and trying appropriate software and hardware solutions. With this guide, you can effectively address display problems and explore DIY repairs if feasible. Don’t hesitate to seek professional help when necessary to ensure your device remains functional and reliable.
Frequently Asked Questions
What to Do if Lines Reappear After a Repair?
If lines return post-repair, revisit the troubleshooting steps or consult professional repair services for a comprehensive diagnosis.
How Long Does a DIY Screen Repair Take?
A typical DIY screen repair can range from 30 minutes to 2 hours, depending on your experience with iPhone components.
Does AppleCare+ Cover Screen Lines?
AppleCare+ covers accidental damage, including screen repairs, though it may incur a service fee. Check your coverage for specific costs.